

Hey there! As a C Type Channel supplier, I often get asked about how to install these channels in a confined space. It can be a tricky task, but with the right approach, it's definitely doable. In this blog post, I'll walk you through the process step by step and share some tips and tricks I've learned along the way.
Understanding C Type Channels
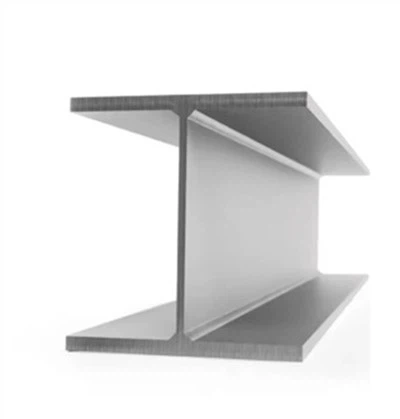
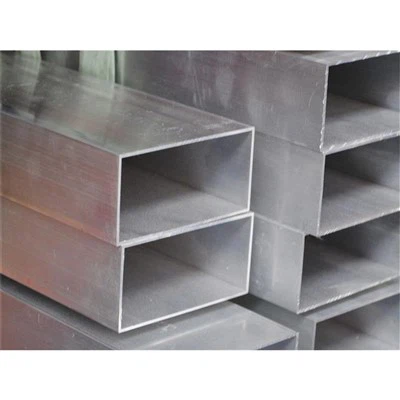
First off, let's talk a bit about C Type Channels. These are versatile structural components that are widely used in construction, manufacturing, and various DIY projects. They're called "C Type" because of their cross - sectional shape, which resembles the letter C. They come in different materials like galvanized steel, carbon steel, and aluminum.
If you're interested in galvanized steel, you can check out Galvanized Steel Channel Steel. For carbon steel options, click on Carbon Steel Channel Bar. And if aluminum is more your thing, there's Aluminum Channel Bar. Each material has its own pros and cons, so choosing the right one depends on your specific needs, such as load - bearing requirements, corrosion resistance, and cost.
Pre - installation Considerations
Before you even start the installation process, you need to do some groundwork.
Measuring and Planning
Start by carefully measuring the confined space. You need to know the exact dimensions to select the right length and size of C Type Channels. Measure the length, width, and height of the area, and take into account any obstacles like pipes, wires, or existing structures. A well - thought - out plan is going to save you a lot of headaches later on. Make a sketch of the space and mark where you want to install the channels.
Safety First
Confined spaces can be dangerous, so safety should be your top priority. Make sure there's proper ventilation to avoid the buildup of harmful gases. Wear the right safety gear, including gloves, safety glasses, and a hard hat. If the space is especially tight, you might even need a safety harness.
Installation Steps
Step 1: Prepare the Channels
Once you've got your channels, check them for any damage or defects. Cut the channels to the appropriate length if needed. Use a saw suitable for the material of your channels. For steel channels, a hacksaw or a power saw with a metal - cutting blade can do the job. With aluminum channels, a hand saw or a miter saw should work just fine.
Step 2: Mark the Mounting Points
Based on your plan, mark the locations on the walls or surfaces where you'll be attaching the channels. Use a level to ensure that the marks are straight and at the correct height. If the confined space has uneven surfaces, you may need to use shims or other leveling tools to make sure the channels will sit properly.
Step 3: Drill Holes
Using a drill with the appropriate drill bit for your material, carefully drill holes at the marked points. Go slowly to avoid making mistakes or cracking the surface. If you're working in a space with existing plumbing or electrical wires, be extra cautious not to drill into them.
Step 4: Attach the Channels
There are a few ways you can attach the C Type Channels. You can use screws, bolts, or even welding depending on the material and the application.
If you're using screws, choose ones that are long enough to hold the channels securely but not so long that they protrude through the other side. For a more heavy - duty application, bolts might be a better option. Make sure to tighten the bolts properly to prevent the channels from coming loose.
Welding is a strong and permanent option, but it's more difficult and requires some skill. If you choose to weld, make sure you have the proper equipment and training.
Step 5: Check for Alignment
After attaching the channels, double - check their alignment. Use a level to make sure they're straight horizontally and vertically. Adjust the channels if necessary. This step is crucial as misaligned channels can affect the overall stability and functionality of the structure you're building.
Step 6: Final Checks
Once the channels are in place, give them a final inspection. Make sure all the connections are secure and there are no sharp edges or loose parts. Check for any signs of damage or stress on the channels.
Tips for Installing in Confined Spaces
- Use Compact Tools: Choose tools that are small and easy to maneuver in tight spaces. A cordless drill is a great option as it gives you more flexibility compared to a corded one.
- Work in Sections: If the confined space is large, break the installation into smaller sections. This will make the process more manageable and help you keep better track of your progress.
- Get Help: Don't hesitate to ask for an extra pair of hands. Installing C Type Channels in a confined space can be physically demanding and having someone to assist you can make the job go a lot smoother.
Conclusion
Installing C Type Channels in a confined space might seem like a daunting task, but if you follow these steps and tips, you'll be able to do it successfully. At our company, we've got a wide range of C Type Channels in different materials and sizes to meet your needs. Whether you're working on a small DIY project or a large - scale construction job, we've got you covered.


If you're thinking about purchasing C Type Channels for your next project, we'd love to talk to you. We can help you select the right materials and sizes, and provide you with any technical support you might need. Reach out to us for a friendly chat about your requirements, and let's get your project off to a great start.
References
- Basic Construction Manual: Structural Steel Installations
- Handbook of Material Selection for Construction Components